Shiitake mushrooms stuffed with a mixture of quinoa and vegetables and then baked with tomato sauce and mozzarella cheese.
Chef's notes
Gluten-Free
Steps
1
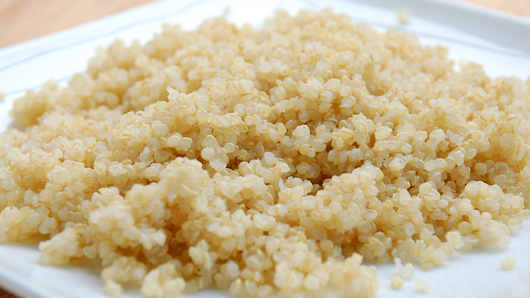
Cooking the Quinoa
Ingredients
1 cup quinoa
2 cups water, vegetable or chicken stock
1/2 tsp unrefined sea salt
To cook the quinoa, combine the dried quinoa, water (or vegetable/chicken stock) and salt in a heavy, medium-sized pot and bring to a boil. Lower the heat, cover and simmer for about 15 to 20 minutes. When it is ready, small steam holes should appear on the surface. Remove from the heat, place a tea towel under the lid to absorb any steam and let rest for about 7 to 10 minutes.
2
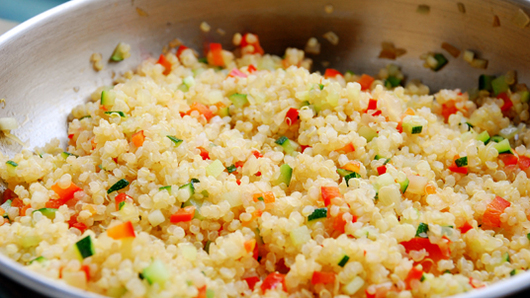
Preparing the Quinoa Mixture
Ingredients
1/2 small onion
1/8 red bell pepper
2" -inch piece of zucchini
1 1/2 tsp extra-virgin olive oil
unrefined sea salt, to taste
Preheat your oven to 375º degrees Fahrenheit (or 190° degrees Celsius).
To prepare the quinoa mixture, first peel and mince the onion. Cut the bell pepper and zucchini into brunoise. Heat a small pan over medium-low heat. Add the oil, followed by the onions. Add a pinch of salt and let the onions gently sweat until they are softened. Add the bell pepper and zucchini. Cook for another 2 minutes to release their aroma. Turn off the heat and transfer the mixture into a bowl.
Add 1 cup of the cooked quinoa and toss to combine. Season to taste.
Note: Any leftover quinoa can be stored in the refrigerator for 4 to 5 days and can be used in another dish.
3
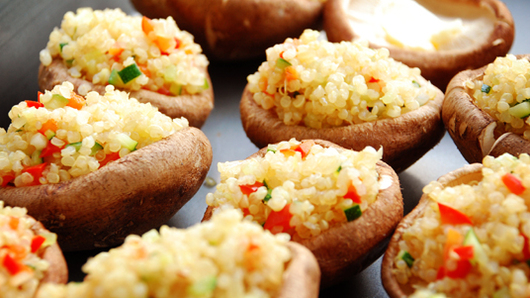
Stuffing the Shiitake Mushrooms
Ingredients
12 large shiitake mushrooms
sea salt (to taste)
freshly ground black pepper (to taste)
Clean and remove the stems from the mushrooms (the stems can be saved for making stock). Season the mushrooms with salt and pepper. Fill each mushroom with the quinoa-vegetable mixture.
4
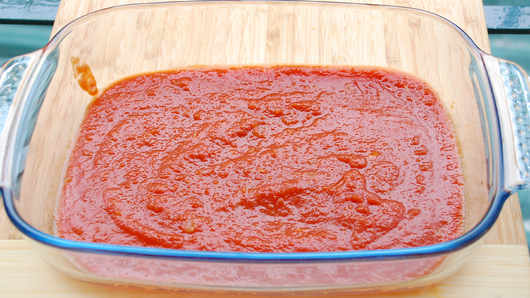
Assembling and Baking the Dish
Ingredients
1 1/2 cups basic tomato sauce
To assemble the dish, cover the base of a glass baking dish (7 1/2" x 10 1/2" -inches) with the tomato sauce. Place the stuffed mushrooms into the sauce. Cover the baking dish with foil and bake for about 15 to 20 minutes until the mushrooms are tender.
5
Finishing the Dish
Ingredients
4 oz mozzarella cheese (about 125 g)
While the mushrooms are baking, grate the mozzarella cheese.
After about 10 to 15 minutes, remove the foil and place the grated mozzarella cheese on top of each mushroom. Continue to bake for another 3 to 5 minutes (without the foil) or until the cheese melts and dish is nice and hot. Once done, serve immediately.